
Clean castings come from controlled variables. Burnout, flask temperature, metal temperature, pouring technique, and inspection must work together.
This guide covers the casting stage for 3D printed jewelry and wax patterns. It does not replace the technical instructions for your investment, alloy, furnace, or casting machine. Always follow the manufacturer’s recommended process first.
Digital Jewelry Design is a US-based design company with a practical understanding of bench work, manufacturing requirements, and modern jewelry trends. Our custom jewelry design, CAD jewelry design services, and jewelry design for retailers are developed with the final casting process in mind.
Burnout First
The flask must be clean before metal enters the mold.
Burnout must fully remove the printed resin or wax, including residue trapped inside detailed areas. Remaining carbon, ash, or moisture can create gas, inclusions, rough surfaces, and porosity.
A typical castable-resin cycle may include:
- A low-temperature drying stage.
- Gradual heating through the resin decomposition stage.
- A high-temperature hold to eliminate remaining residue.
- A controlled reduction to the final casting temperature.
For example, one castable wax resin schedule uses staged holds around 55°C, 150°C, 300°C, and 732°C, followed by a controlled drop to the casting temperature. This is only a starting point. Different resins require different schedules.
Use the technical data supplied for the specific material. Formlabs’ Castable Wax 40 documentation provides one example of a staged burnout process. BlueCast also emphasizes controlled ramps, ventilation, and complete resin removal.
Takeaway: Do not shorten the burnout cycle simply to increase throughput. An incomplete burnout can compromise the entire casting.

Burnout Safely
Thermal shock can crack the investment and damage the mold cavity.
Do not place cold flasks into a fully heated furnace. Heat the flask according to the recommended ramp. Avoid sudden door openings, forced cooling, or rapid temperature changes.
Thermal shock can produce:
- Cracks in the investment.
- Flashing or fins on the casting.
- Surface defects.
- Misruns caused by a damaged mold cavity.
- Hidden weaknesses that appear during finishing.
Keep flasks away from heating elements and avoid overloading the furnace. The number of flasks, flask size, furnace design, and spacing can all affect the actual temperature inside the mold.
The furnace display may not reflect the temperature at the flask’s core. A stable hold is essential before pouring.
Takeaway: Heat gradually. Cool gradually. Let the flask reach thermal equilibrium.
Temperature Matters
The correct flask temperature depends on the metal, alloy, investment, section thickness, and level of detail.
After the peak burnout stage, reduce the flask to the recommended casting temperature. Hold it long enough for the center of the flask: not only the outside surface: to reach that temperature. A minimum one-hour hold is commonly recommended for many jewelry casting workflows, but the correct time depends on the equipment and flask size.
General trends include:
- Higher flask temperatures can help thin sections and fine details fill.
- Lower flask temperatures can reduce surface roughness in heavier sections.
- Excessive flask temperature can increase investment breakdown and surface defects.
- A flask that is too cool can cause misruns, incomplete fills, and premature metal freezing.
Metal temperature matters just as much. The alloy must be hot enough to flow, but excessive superheat can increase oxidation, gas absorption, and surface problems.
Do not use one temperature for every alloy. Consult the alloy supplier and investment manufacturer for recommended metal and flask temperatures. SRS provides example temperature ranges for several casting metals, but those figures should not replace the specifications for your particular process.
Takeaway: Use the correct flask temperature for the metal being poured. Do not guess.
Degas Carefully
Porosity can begin before the pour.
Investment must be mixed with the correct water-to-powder ratio. Air trapped during mixing or filling can create bubbles and surface defects in the mold. Use vacuum mixing and vacuum the filled flask according to the investment manufacturer’s instructions.
Before pouring, check the following:
- The flask is fully burned out.
- The cavity is free of visible residue.
- The investment has not cracked.
- The crucible is clean.
- The metal is clean and free from contamination.
- The vacuum or centrifugal system is functioning correctly.
- The casting chamber is sealed when required.
Metal handling also affects porosity. Avoid unnecessary overheating. Use clean tools, clean crucibles, and appropriate fluxes when the alloy and process require them.
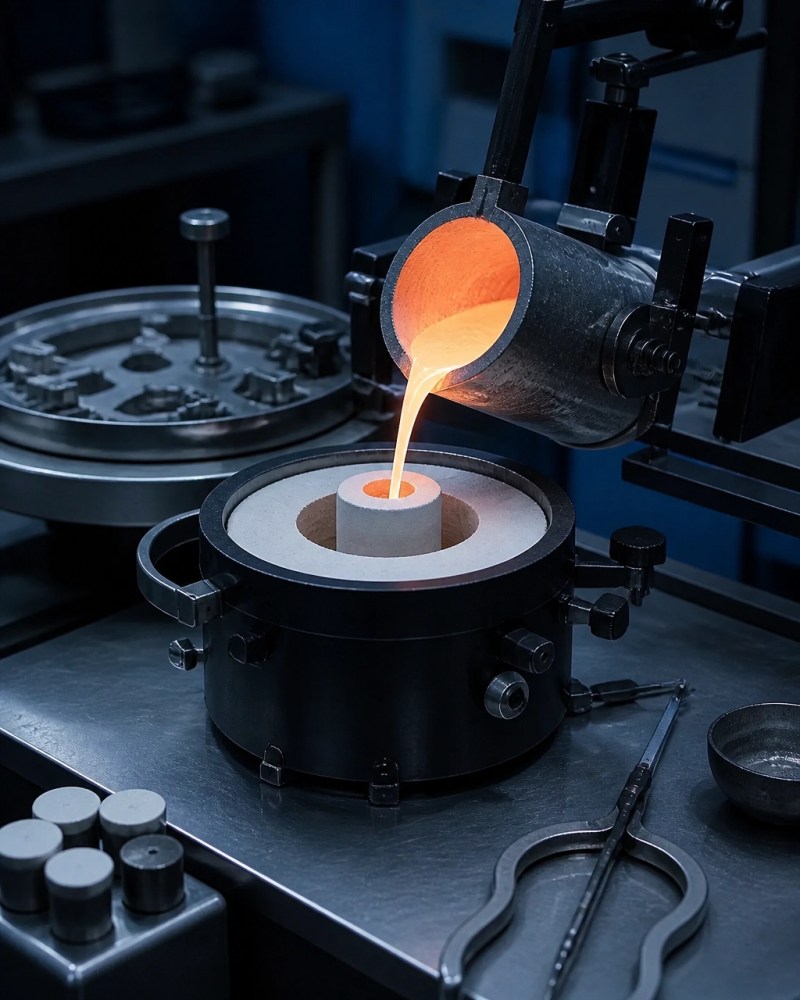
Pour Smoothly
The pour should be continuous and decisive.
Hesitation can allow the metal to cool before the mold is filled. A stop-and-start pour can also increase turbulence and gas entrapment. Pour with enough energy to fill the mold, but avoid unnecessary agitation.
Before starting:
- Confirm the metal temperature.
- Confirm the flask temperature.
- Confirm the casting machine settings.
- Position the flask correctly.
- Make one controlled pour.
- Follow the equipment’s safety procedure.
Vacuum casting and centrifugal casting use different forces and operating procedures. Neither method compensates for incomplete burnout, incorrect temperature, contaminated metal, or a damaged mold.
Takeaway: Prepare completely, then pour smoothly and without hesitation.
Quench at the Right Time
Quench timing depends on the alloy, flask temperature, investment, section thickness, and whether stones or sensitive materials are present.
For many traditional gold and silver casting workflows, the flask is allowed to sit briefly after the pour so the metal can solidify. Some operations quench after approximately five minutes, but this is not a universal rule.
Quenching too early can cause:
- Steam generation.
- Investment spalling.
- Cracking around thin sections.
- Damage to the casting.
- Safety hazards.
Stone-in-place casting requires additional caution. Do not quench a flask containing heat-sensitive stones unless the stone, alloy, investment, and process specifically allow it. Sudden cooling can crack or damage stones.
When uncertain, allow the flask to cool according to the material supplier’s instructions. Quench timing should be documented and tested for the specific workflow.
Takeaway: Quench only when the metal and investment are ready. Never treat quenching as an automatic step.
Inspect Before Setting
A casting is not finished when it comes out of the flask.
Devest the casting carefully and inspect it before cutting sprues, polishing, or setting stones. Look for:
- Incomplete fills.
- Misruns and cold shuts.
- Surface bubbles.
- Investment inclusions.
- Cracks or fins.
- Shrinkage cavities.
- Gas porosity.
- Roughness in detailed areas.
- Distortion around functional surfaces.
Use magnification and strong, controlled lighting. For critical parts, polish or section a test area to inspect for internal porosity. Radiography or other non-destructive testing may be appropriate for valuable, structural, or high-volume production work.
Record the casting conditions:
- Resin or wax type.
- Investment type.
- Burnout schedule.
- Peak burnout temperature.
- Flask temperature.
- Metal temperature.
- Casting method.
- Quench timing.
- Defects observed.
A casting log turns defects into useful process data. If porosity appears repeatedly, review burnout, metal temperature, degassing, sprue feeding, and contamination control before moving to stone setting.

Plan for the Casting Shop
Good digital work must survive real production conditions. Digital Jewelry Design supports this through manufacturing optimization and fit simulation. These services help identify practical issues before a model reaches the casting shop.
Our approach combines modern digital tools with bench-aware thinking. We understand that a successful design must cast cleanly, fit correctly, and support the next production step.
Every design service and membership tier includes:
- 2 to 4 high-resolution photorealistic images.
- 1 turntable animation video.
- Unlimited revisions.
- 1 sample 3D print for trial on.
- The final STL file for the casting shop.
Final Casting Checklist
Before approving a casting, confirm:
- Burnout fully removed the resin or wax.
- The flask was heated gradually.
- The flask reached the correct temperature for the alloy.
- The metal was clean and correctly heated.
- Degassing and vacuum procedures were completed.
- The pour was continuous.
- Quench timing followed the material requirements.
- The casting was inspected for porosity and flaws.
- Stone setting will begin only after quality control is complete.
Control the process. Inspect the result. Then proceed.
The Art of Precision.
Digital Jewelry Design’s website is currently under development. To discuss custom jewelry design, CAD jewelry design services, or jewelry design for retailers, contact support@digitaljewelrydesign.com, text 6029217150, or reach out through Facebook.