
A successful jewelry model will begin with practical decisions.
Before a design reaches production, the CAD file will need to account for the stone, the metal, the intended wear, and the work required at the bench. A beautiful screen image will not be enough. The model will need to become a durable, finishable piece of jewelry.
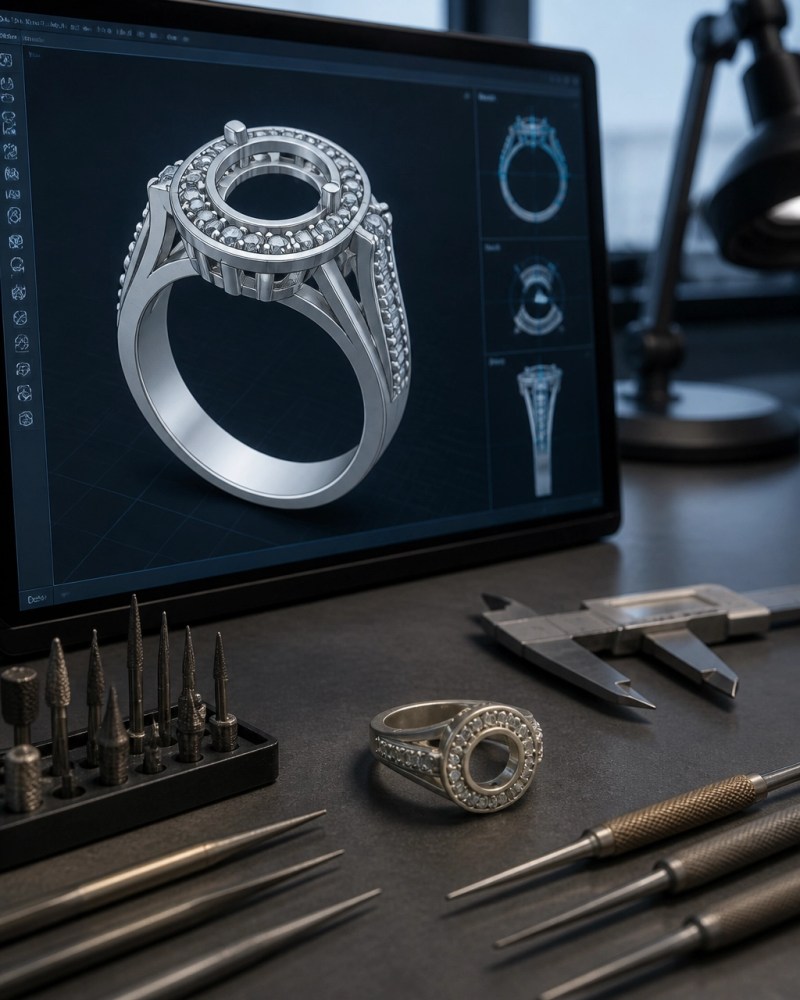
Digital Jewelry Design will provide cad jewelry design services, custom jewelry design, and 3d jewelry modeling with a bench-aware approach. Our US-based design process will combine modern digital tools with practical production knowledge.
Start With the Stone
The stone will establish the design.
Do not begin with carat weight alone. Carat weight will not provide the exact measurements needed for a secure setting. Two stones with the same carat weight may have different proportions, depths, girdle thicknesses, and profiles.
Before modeling, use the stone’s actual dimensions:
- Length
- Width
- Depth
- Girdle thickness
- Shape and corner geometry
- Pavilion and crown profile
For a custom ring, the actual stone will determine the seat, bezel, prongs, gallery, height, and overall balance of the design.

Practical takeaway
Measure first. Model second.
If the physical stone is available, measure it with precision tools. If it is not available, use the supplier’s detailed millimeter measurements rather than a general carat-to-size chart.
For calibrated stones, confirm the manufacturer’s tolerance. The setting will need to accommodate the real stone without becoming loose or overly tight.
Stone-first modeling will reduce later changes. It will also help the setter work with a design that reflects the actual material.
Model Real-World Wall Thickness
CAD software will allow extremely thin walls, sharp edges, and delicate details that may look impressive on screen. That does not mean they will survive production or everyday wear.
Model the piece at practical dimensions from the beginning. Account for:
- Metal removal during cleanup
- Filing and polishing
- Expected shrinkage
- Structural stress
- The intended use of the piece
- The skill and access required for setting and finishing
A delicate pendant may require different dimensions than a daily-wear ring. A wide band will need more support than a lightweight fashion piece. A prong holding a center stone will need more strength than a decorative accent.
There will be no single thickness that works for every design or metal. The correct specification will depend on the alloy, setting style, component, and manufacturing route.
As a general design discipline, inspect the thinnest sections rather than judging the average thickness. The weakest point will determine whether the model is practical.
Practical takeaway
Design for the finished piece, not the oversized screen model.
Run a thickness analysis before approval. Check the shank, prongs, bezel walls, galleries, links, bails, and decorative elements. Add reasonable cleanup allowance where the bench will remove material.
For additional context on digital workflows, see Digital Jewelry Design’s guide to the role of CAD in jewelry design.
Remove Sharp Internal Corners
Sharp internal corners will concentrate stress and make finishing more difficult. They may also create areas that are difficult to reach with burs, files, or polishing tools.
Use smooth transitions and small internal fillets wherever the design allows. Rounded transitions will generally provide:
- Better structural continuity
- Easier tool access
- More consistent finishing
- Fewer stress concentrations
- A more comfortable finished surface
Avoid knife edges, especially on areas that will receive regular contact or impact. External edges may need a controlled bevel or radius. Internal corners will usually benefit from a smooth blend rather than a hard intersection.
Abrupt changes in section thickness should also be reviewed. A very thick area joining a very thin area may create an uneven result and complicate manufacturing.
Practical takeaway
Every corner will need a purpose.
Ask whether a tool will be able to reach the area. Ask whether a polisher will be able to clean it. Ask whether the finished piece will feel comfortable against the skin.
If the answer is no, revise the geometry before the file moves forward.
Avoid Problematic Undercuts
Undercuts will not always be wrong. They will be useful in certain sculptural and mechanical designs. The problem will begin when they are added without considering access, finishing, or the intended manufacturing route.
An undercut may:
- Trap material in a recessed area
- Block finishing tools
- Complicate stone setting
- Create weak projections
- Prevent a clean transition between surfaces
Review every negative space and recessed feature. Confirm that the opening is large enough for the required tool or setting operation. A design may look open in a shaded render but become inaccessible at actual scale.
The goal will not be to remove all complexity. The goal will be to make complexity intentional and workable.
Practical takeaway
Design the access path with the design itself.
The model will need to communicate how the piece will be handled, finished, set, and inspected.
Design With the Metal in Mind
A digital model will not behave the same way in every metal.
Gold alloys, platinum, silver, and other materials will differ in density, strength, shrinkage behavior, hardness, color, and polishing response. The same design may feel balanced in one alloy and too heavy, soft, or difficult to finish in another.
Before finalizing the model, identify the intended metal. Then review:
- Expected shrinkage and production allowances
- Final weight and wearer comfort
- Structural requirements
- Surface hardness
- Edge definition after polishing
- Risk of over-polishing
- Color and contrast between surfaces
- The amount of metal required around stones
A sharp ridge may soften during finishing. A delicate texture may become less visible. A hollow form may reduce weight but require careful structural planning. A heavy solid form may be durable but uncomfortable or unnecessarily expensive.
Shrinkage allowances will vary by the production method, alloy, and manufacturing partner. Do not rely on a universal percentage. Confirm the preferred specifications before approving the final CAD file.
Practical takeaway
Choose the metal before you finish the model.
Digital Jewelry Design will optimize the geometry for the intended material and production requirements. Our 3D modeling services will focus on both visual accuracy and manufacturing practicality.
Add Texture That Will Survive
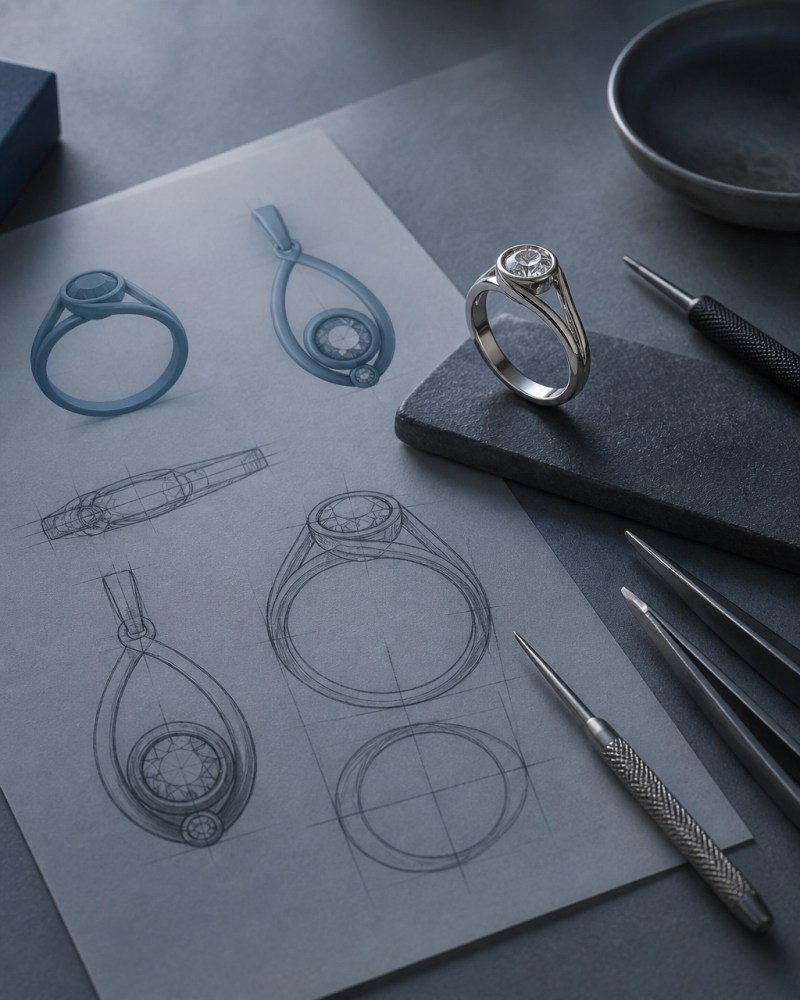
Texture will add character, contrast, and visual identity. It will also change how a surface reflects light and how much material will remain after finishing.
Texture should be designed at a scale that will remain visible in the final piece. Fine lines may disappear. Shallow grooves may soften. Deep texture may weaken a thin wall or create difficult finishing areas.
Use texture thoughtfully on:
- Exterior surfaces
- Recessed decorative areas
- Brushed or satin zones
- Organic forms
- Edges intended to remain crisp
- Areas that will receive regular contact
Leave smooth transitions around stone settings, sizing areas, solder or assembly zones, and surfaces that will need regular polishing. Avoid placing fragile texture on edges that will be worn down quickly.
Texture should support the design rather than compete with it.
Practical takeaway
Texture for the final surface, not the screen preview.
View the design at actual scale. Check whether the texture will remain legible after cleanup and polishing. When in doubt, strengthen the surrounding structure and simplify the smallest details.
Use a Final Design Checklist
Before approving a jewelry CAD file, confirm the following:
- The stone dimensions are verified in millimeters.
- The setting matches the stone’s actual shape and profile.
- The thinnest walls and structural elements have been checked.
- Internal corners include practical transitions.
- Undercuts and recessed areas have adequate tool access.
- The intended metal has been identified.
- Shrinkage and finishing allowances follow the production partner’s standards.
- The design weight and wearer comfort are reasonable.
- Texture is deep and broad enough to remain visible.
- The file has been reviewed from multiple angles and at actual scale.
This process will prevent many expensive revisions. It will also produce a CAD model that communicates clearly with the next professional in the workflow.
Get the Design Right First
The strongest digital jewelry design will combine creativity with production awareness. It will show modern style without ignoring the realities of metal, stones, tools, and wear.
Digital Jewelry Design will provide custom CAD modeling and manufacturing optimization for individuals, jewelry retailers, and growing brands. Our approach will be modern, precise, and bench-aware.
Every design service and membership tier will include 2 to 4 high-resolution photorealistic images, 1 turntable animation video, unlimited revisions, 1 sample 3D print for trial on, and the final STL file for the casting shop.
The Art of Precision.
Website and Contact
The Digital Jewelry Design website is currently under development.
For questions or project inquiries:
- Email: support@digitaljewelrydesign.com
- Text: 6029217150
- Reach out through Facebook