
A successful 3D printed jewelry workflow depends on more than pressing “print.” Material choice, orientation, supports, hollowing, cleaning, and resolution will affect the surface finish, print reliability, and readiness for lost-wax casting.
Digital Jewelry Design is a US-based design service built around both digital production and real bench-work requirements. We use modern tools without losing sight of how jewelry must be handled, finished, and produced.
This guide covers the 3D printing stage only.
1. Choose the Right Material
Castable Resin
Castable resin makes sense when you need:
- Fine surface detail.
- Sharp engraving and small features.
- Consistent results across detailed custom jewelry.
- Compatibility with a jewelry-specific resin printer.
Castable resin is available in different formulas. Some are wax-filled. Others are engineered for low-residue burnout. Always follow the resin manufacturer’s cleaning and curing requirements.
Do not treat standard hobby resin as a casting material. It may leave ash, expand, or create problems during later production.
Wax
Wax remains a strong choice for traditional lost-wax workflows. It makes sense when:
- Your casting shop prefers wax patterns.
- The design is relatively robust.
- You want a familiar material for spruing and handling.
- You need a direct link to established wax-processing methods.
Wax can be more fragile than resin, especially in thin sections. It also requires a printer and workflow designed for wax printing.
Clear takeaway
Use castable resin for fine digital jewelry design and flexible prototyping. Use wax when your production workflow is built around wax patterns.
Material choice should be confirmed with the casting shop before printing.

2. Orient the Model Before Adding Supports
Print orientation affects:
- Surface finish.
- Support placement.
- Peel forces.
- Distortion.
- The amount of cleanup required afterward.
A ring or pendant printed completely flat can create a large cross-section. That may increase suction and stress during printing. It can also leave visible layer lines or support marks across important surfaces.
A modest angle, often around 30 to 45 degrees, can reduce these problems. The correct angle will depend on the shape, height, mass, and printer.
The goal is simple:
- Keep broad surfaces from printing flat against the build plate.
- Spread the model across multiple layers.
- Reduce stress on delicate features.
- Protect the visible face of the jewelry.
Do not rely on automatic orientation without reviewing the result. Jewelry requires manual judgment.
3. Place Supports Where They Will Not Matter
Supports must stabilize the model without damaging the areas customers will see.
Place support contacts on:
- The inside of a ring.
- The back of a pendant.
- The underside of a setting.
- Areas that can be reached easily during cleanup.
Avoid support contacts on:
- Polished exterior surfaces.
- Engraving.
- Stone seats.
- Fine pavé details.
- Prong tips.
Use smaller contact points on visible areas when possible. Use stronger supports where thin elements could move or fail.
Support marks are not only a cosmetic issue. Deep pits can become extra bench work. They can remove detail and make polishing more difficult.
Clear takeaway
Orient first. Support second. Inspect every contact point before printing.
4. Hollow Large Models Carefully
Hollowing can reduce:
- Resin usage.
- Print weight.
- Material cost.
- The amount of material that must later be removed.
It is especially useful for larger pendants, signet-style forms, and substantial decorative pieces.
However, hollowing is not simply an automatic slicer function. The shell must remain strong enough to print, handle, clean, and transport.
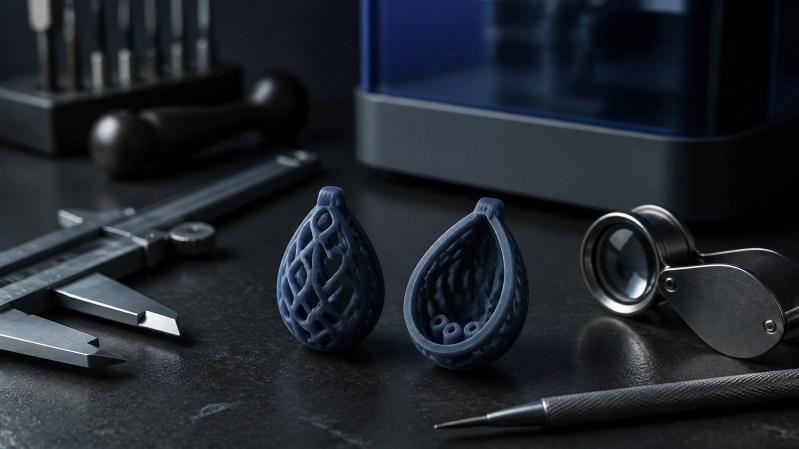
A hollow model also requires proper drainage holes. Without them, uncured resin can remain trapped inside the piece.
Drainage holes should:
- Reach the internal cavity.
- Be large enough for liquid resin and cleaning fluid to escape.
- Be placed on hidden or underside surfaces.
- Be added in more than one location when the geometry requires it.
For many jewelry applications, holes around 1.5 to 2 mm may be practical, but the correct size depends on the model and material. Confirm the requirements for the specific resin.
A trapped pocket of resin can contaminate the rest of the print and create serious problems during later processing.
Clear takeaway
Hollowing reduces weight and metal cost, but drainage holes are mandatory.
5. Clean the Print Completely
Fresh resin prints contain uncured material on the surface and inside recesses. That material must be removed before curing.
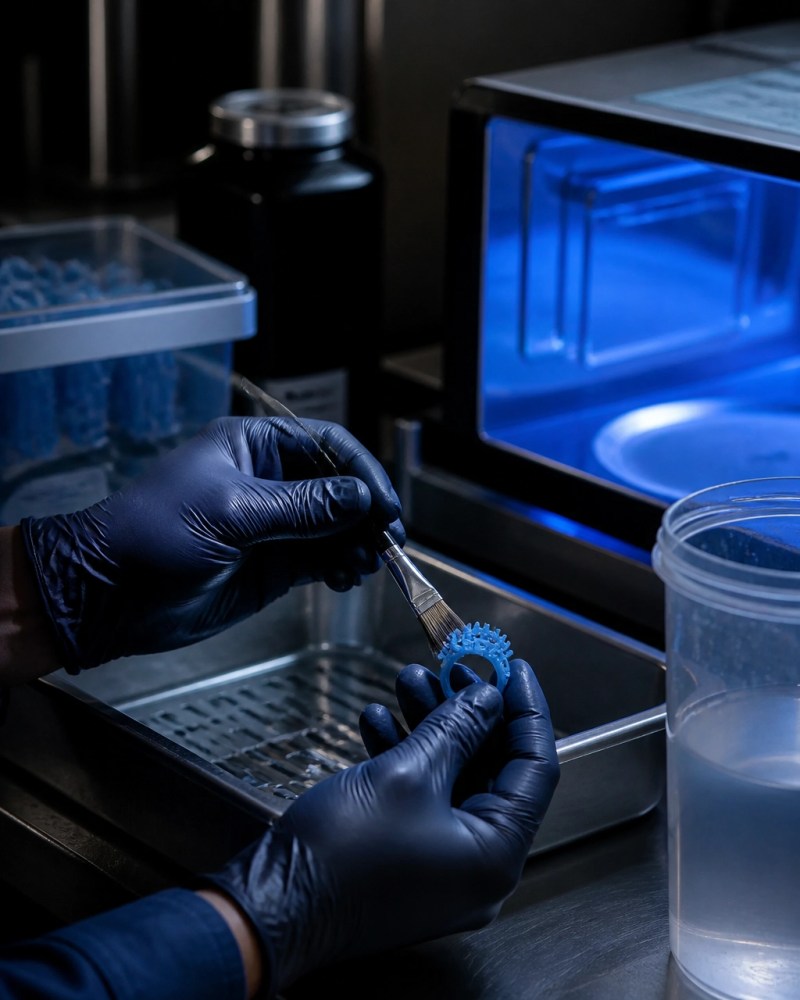
A practical cleaning sequence includes:
- Remove the print from the build plate carefully.
- Wash it in the cleaning solution specified by the resin manufacturer.
- Agitate the piece gently so fluid reaches details and drainage holes.
- Use a soft brush for recessed areas when appropriate.
- Rinse or perform a second clean bath if needed.
- Allow the model to dry completely.
Avoid leaving a castable resin print submerged in alcohol longer than recommended. Excessive exposure can affect the surface or dimensional stability.
For hollow pieces, cleaning must reach the interior. Rotate the model and allow liquid to flow through every drainage hole.
A sticky, glossy, or wet surface is a warning sign. It usually indicates remaining uncured resin or incomplete drying.
6. Cure With Control
Post-curing gives the print greater stability. It also changes the material’s final properties.
Use:
- The curing time recommended by the resin manufacturer.
- The correct UV wavelength.
- Even exposure around the entire model.
- A dedicated curing chamber when possible.
Do not assume that longer curing is better. Over-curing can make certain castable resins brittle or dimensionally unstable. Under-curing can leave the surface soft and increase the risk of contamination.
Clean first. Dry completely. Cure second.
Clear takeaway
Uncured resin can contaminate later processing. Clean every recess, dry the print, and follow the resin’s cure instructions precisely.
7. Match Resolution to the Detail
Higher resolution is useful, but it is not always necessary.
For detailed jewelry, layer heights around 25 to 50 microns are commonly used. This can help preserve:
- Fine engraving.
- Small lettering.
- Delicate curves.
- Pavé and micro-detail.
- Smooth transitions on visible surfaces.
Larger prototypes may use a coarser resolution when speed matters more than surface refinement.
Resolution should match the piece:
- Fine detail: Use a finer layer height and carefully calibrated exposure.
- Large, simple forms: A moderate resolution may be sufficient.
- Early fit checks: Use a faster setting if the goal is only size or proportion.
- Final prototype: Use the resolution needed to evaluate surface quality and detail.
A high-resolution setting cannot rescue poor orientation, weak supports, or incorrect exposure. Review the complete print setup.
For additional context, see Digital Jewelry Design’s guide to the benefits of 3D modeling in jewelry.
A Practical Print Checklist
Before starting a 3d jewelry modeling job, confirm:
- The material is intended for jewelry or casting.
- The model is oriented to reduce stress and visible support marks.
- Supports are placed on protected surfaces.
- Hollow models include functional drainage holes.
- The printer, vat, and build plate are clean.
- The resin has been mixed according to its instructions.
- The print will be washed thoroughly.
- The model will dry before curing.
- The curing schedule matches the material.
- The layer height matches the required detail.
Need a Jewelry Prototype?
Digital Jewelry Design provides custom jewelry design and 3D prototyping support for individuals, retailers, and jewelry businesses. Our process connects digital jewelry design with practical production requirements.
Every design service and membership tier includes:
- 2 to 4 high-resolution photorealistic images.
- 1 turntable animation video.
- Unlimited revisions.
- 1 sample 3D print for trial on.
- The final STL file for your casting shop.
Learn more about our custom jewelry design approach or contact Digital Jewelry Design to discuss your project.
The Art of Precision.
Digital Jewelry Design’s website is currently under development.
For questions or project inquiries, email support@digitaljewelrydesign.com, text 6029217150, or reach out via Facebook.